Reforge: Stray shots
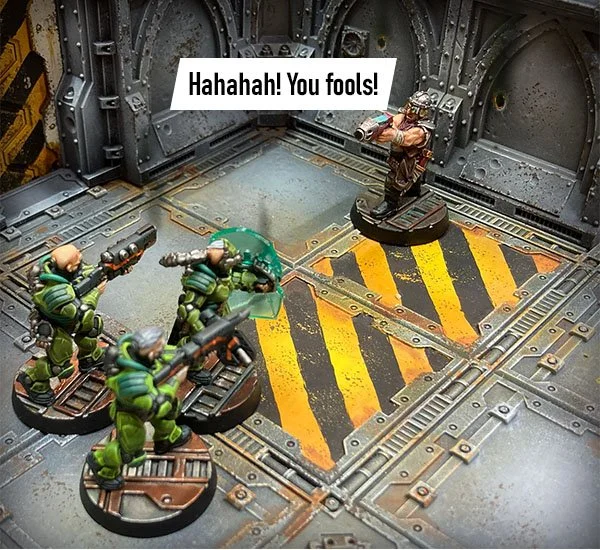
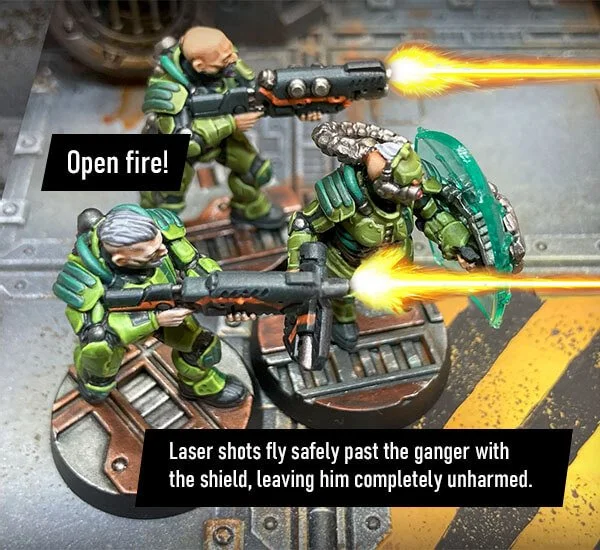
This Hive Scum doesn’t know yet that the energy shield will soak up his plasma shot—and seriously piss off the Van Saar gangers.
In Necromunda, even the best shooter can accidentally hit their own ally. It's an interesting rule, but not without a touch of absurdity. Could someone in the Hive be selling guns with crooked barrels?
Rule Breakdown
Stray shots
If an attack with a ranged weapon misses, there is a chance that another fighter, friend or foe, that is Engaging the target will be hit. Equally, there is a chance that any model, friend or foe, that is within 1" of the line along which the range between the attacker and the target was measured, will be hit.
If the attack misses, roll a D6 for each model that is at risk of being hit, starting with the model closest to the attacker. On the roll of 1, 2 or 3, that model is hit by the attack. On a 4, 5 or 6, the shot misses it – move on to the next model at risk of being hit.
If the attack would have caused more than one hit, follow this sequence for every hit.
-Necromunda Core Rulebook

The Stray Shots rule is one of those things that make Necromunda so much fun. It keeps you on your toes. When you think you’ve got the perfect shot lined up, there’s suddenly a chance you might clip your own guy instead. That little bit of chaos turns every shootout into a wild ride, and let’s be honest, nothing spices up a game like a perfect plan going completely sideways.
But is it always that fun? Especially when everything seems perfectly safe—no way you could possibly hit your own teammate—until, somehow, your barrel bends for no reason, or your bullet decides to take a 90-degree turn and smack your buddy in the side.

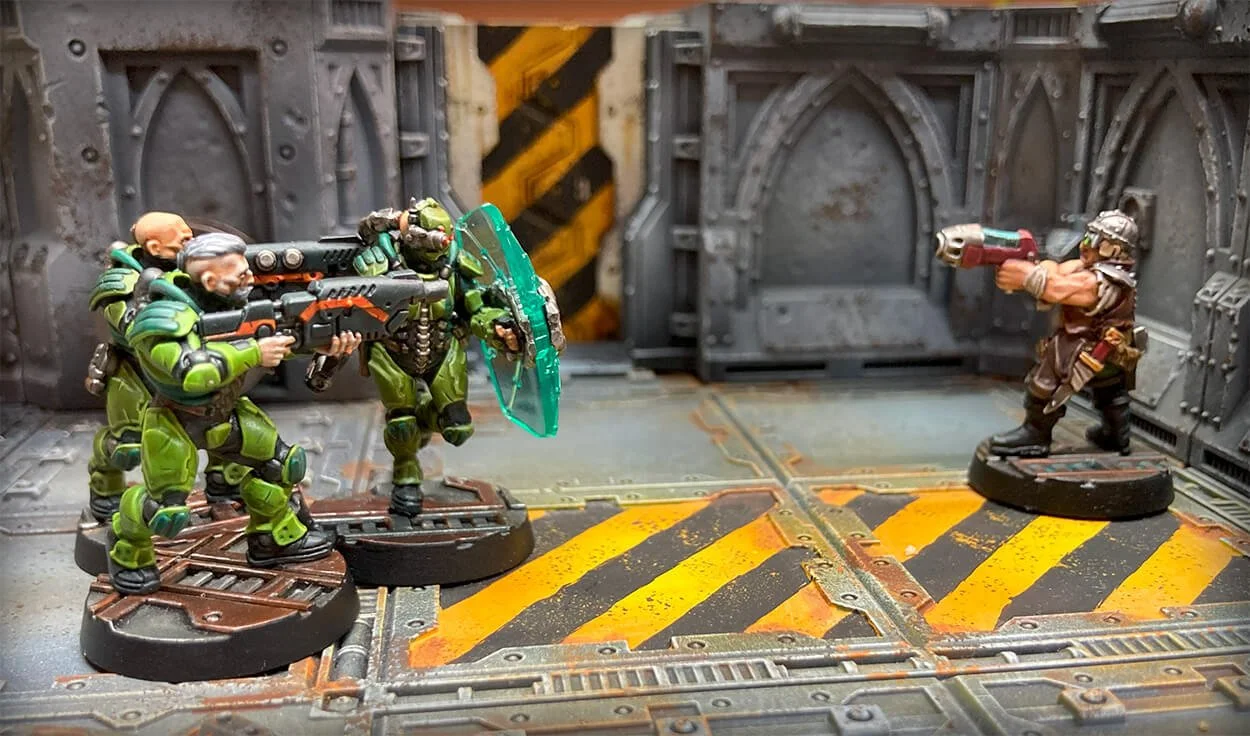
Let’s set the scene. Two Van Saar gangers stand in a tight defensive formation behind an energy shield, their guns trained on the obese scum across from them.
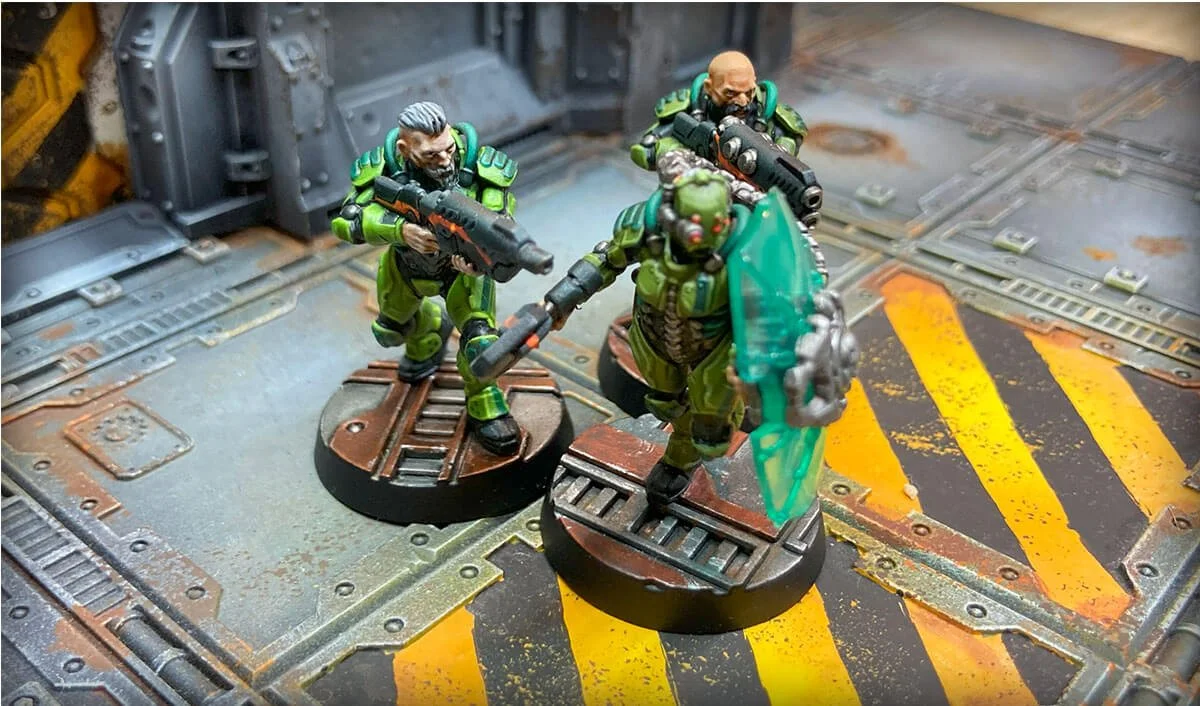
Standing behind another fighter gives those in the back partial or even full cover, depending on how much of their body is hidden by the model in front- especially if that model carries a shield, offering extra durability. This is particularly useful when you want to protect someone important and there's no better place to take cover nearby.

Usually, in this situation, since a model is standing in front within 1" of the line of fire, we'd have to roll a die to see if that fighter gets hit instead. I don't think I need to explain why this kind of formation is risky - it's way too easy to end up shooting your own teammate.
And that's precisely what needs to change.
A simple update is all it takes to make this tactic viable, without wondering how you just managed to shoot the guy standing right in front of you, who shouldn't have been in danger in the first place.
Updated Rule: Stray Shots
If an attack with a ranged weapon misses, there is a chance that another fighter, friend or foe, that is Engaging the target will be hit. Equally, there is a chance that any model, friend or foe, that is within 1" of the line along which the range between the attacker and the target was measured, will be hit.
If the attack misses, roll a D6 for each model that is at risk of being hit, starting with the model closest to the attacker. On the roll of 1, 2 or 3, that model is hit by the attack. On a 4, 5 or 6, the shot misses it – move on to the next model at risk of being hit.
If the attack would have caused more than one hit, follow this sequence for every hit.
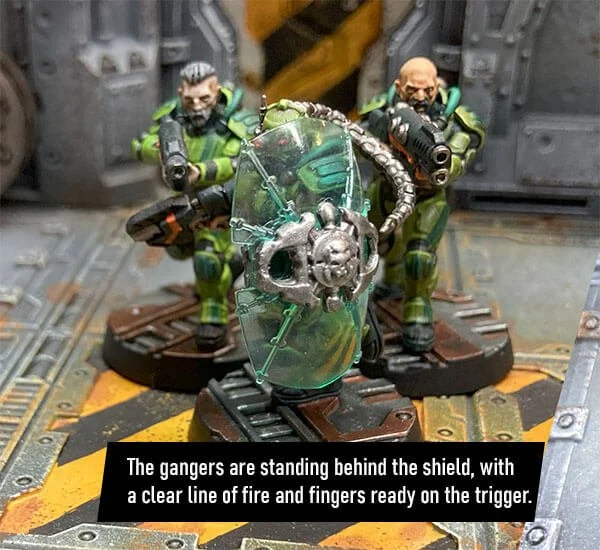
Note: This rule does not apply to friendly models that are within 1" of the shot’s line but are also in base-to-base contact with the attacking model. Such models are considered safe and are ignored when resolving Stray Shots.
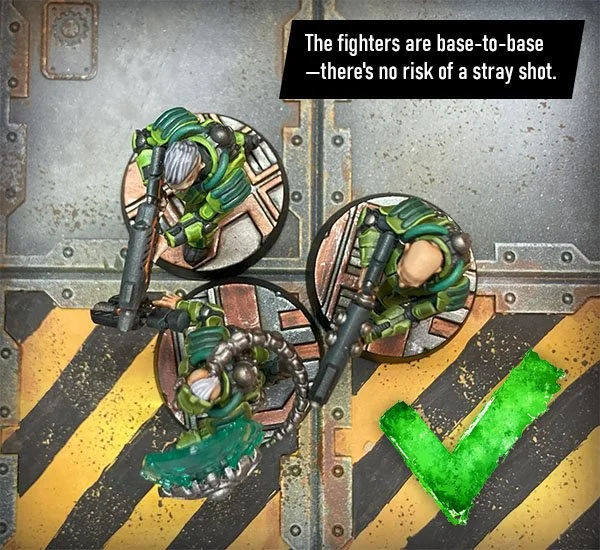
Simple examples of when the friendly model is safe
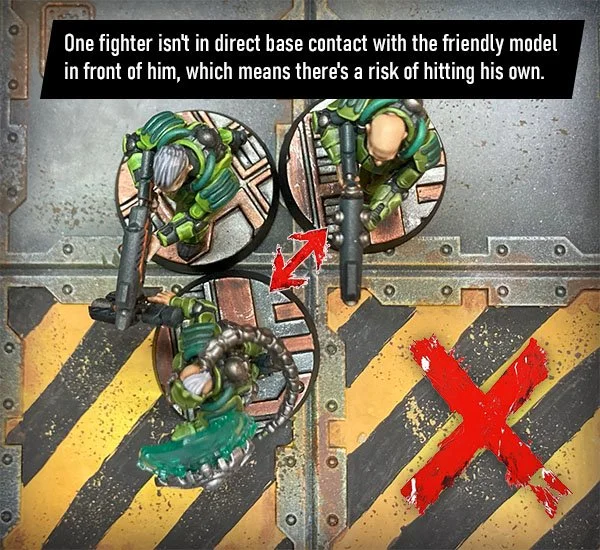
…and when he isn't.
The Scum doesn't think too long. He cranks up his plasma pistol to maximum power and fires back.